How to create SPM package (Network Layer) and publish it on GitHub
Master Swift Package Manager on GitHub with ease. Create, publish, and boost your projects using NetworkKit. Learn how to create and publish SPM package:
Swift Package Manager is a tool for managing the distribution of Swift code. It’s integrated with the Swift build system to automate the process of downloading, compiling, and linking dependencies.
Share Code can be of the following
- Workspace
- Team
- Open Source Community
Concepts
Modules — Swift organizes code into modules.
For example — Module that has a functionality such as Network Request that can be used in any of our Swift applications. It can be shared between a photo-sharing app and a weather app.
We can use that in common without reimplementing the solution instead make it a reusable component.
Package — A package consists of Swift source files and a manifest file. It imports the PackageDescription. It has one or more targets. Each target specifies a product and many dependencies.
Manifest file — Package.swift
What is PackageDescription? — Create reusable code, organize it in a lightweight way, and share it across your projects and with other developers.
Products — Target can have a static library or executable framework. A library contains a module that can be imported by other Swift code. An executable is a program that can be run by the operating system.
Dependencies — A target’s dependencies are modules required by code in the package. Each dependency can have its own dependencies, creating a Dependency Graph.
Guide to creating Swift Package: Before creating a Swift Package, please refer to my previous article on creating a Network Layer for your iOS App.
Before creating a package, we must ensure that we use the public access specifier for protocols, classes, and class members.
Create a Local Package
-
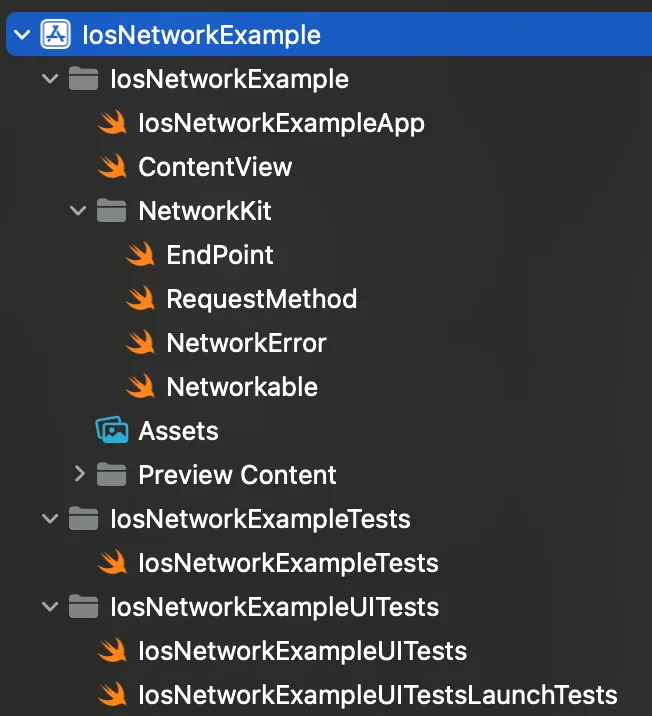
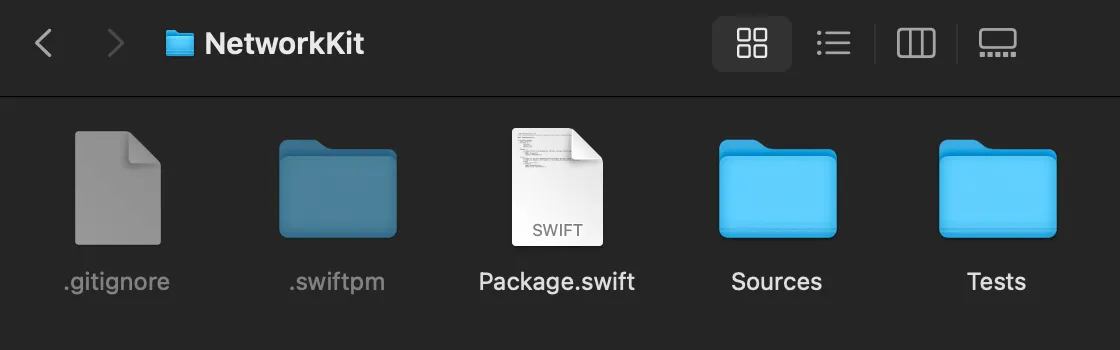
In the sample project, I have created a NetworkKit folder that consists of Networkable, EndPoint, RequestMethod and NetworkError. I have explained in my previous article — How to create a Network Layer for your iOS App.
-
To create a new Package — File -> New -> Package… ⌃⇧⌘N


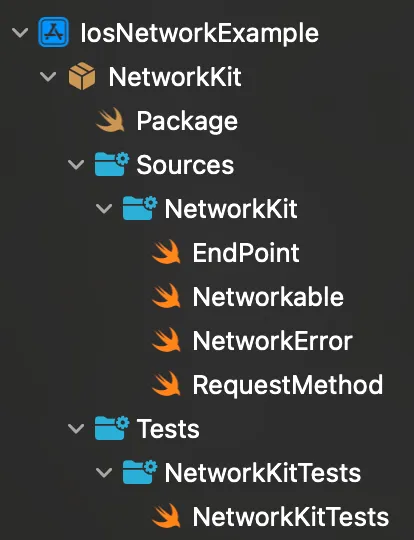
- Copy the files under the NetworkKit and paste them to the Package/Sources folder and remove the existing files from our sample project.
- Unit test if required.
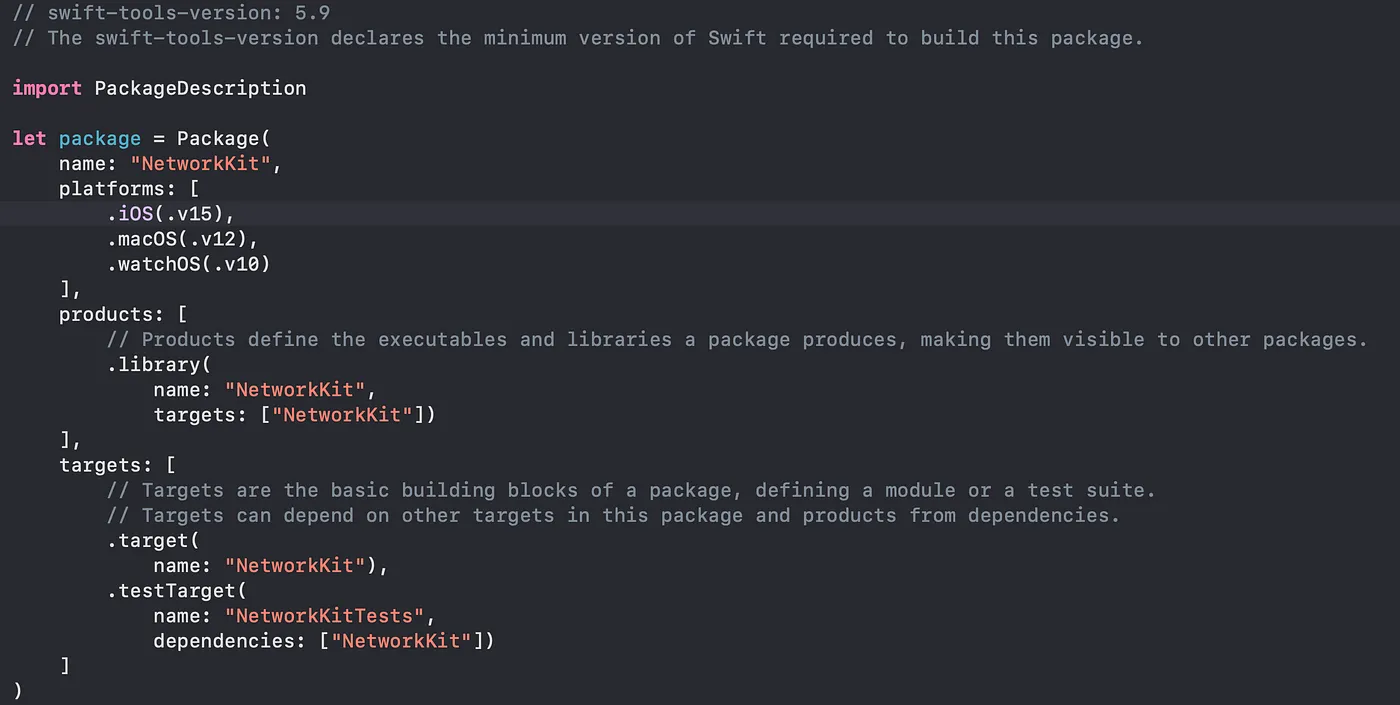
Swift Package Manifest
Please find the GitHub Repo
Open package.swift file in Xcode.
Set the minimum Apple ecosystem in the platforms section. I recommend watching the WWDC-19.
Publish the Package
- Extract the package from the project and keep a local copy in a different directory. Delete the existing package from the project.
-
Open the Package.swift in Xcode
-
Create a local git repository for the package. Use Xcode to create it — Integrate -> New Git Repository.
-
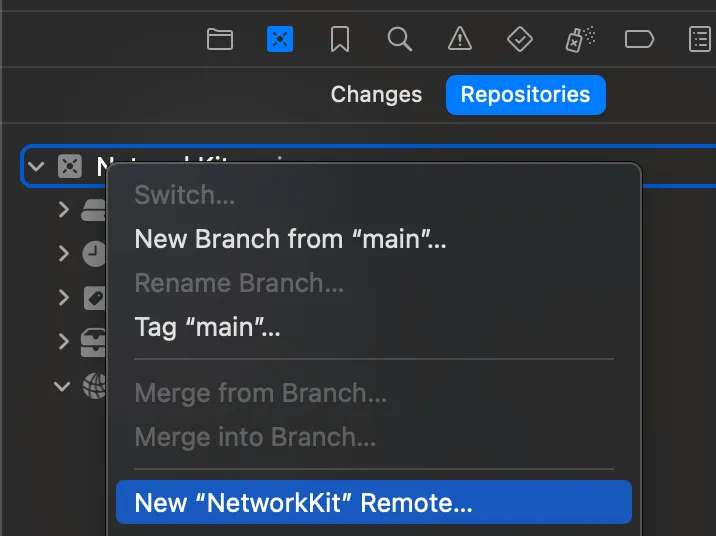
Create a remote repository for the package. Right Click -> Select Add Existing Remote. Connect to a GitHub account via Xcode by providing a Personal Access Token. Please refer Xcode Source Control Accounts.
-
Push the changes to the GitHub repository along with the tags.
-
Verify in the GitHub Repository.
Finally, we have the Swift Package
Using the Package
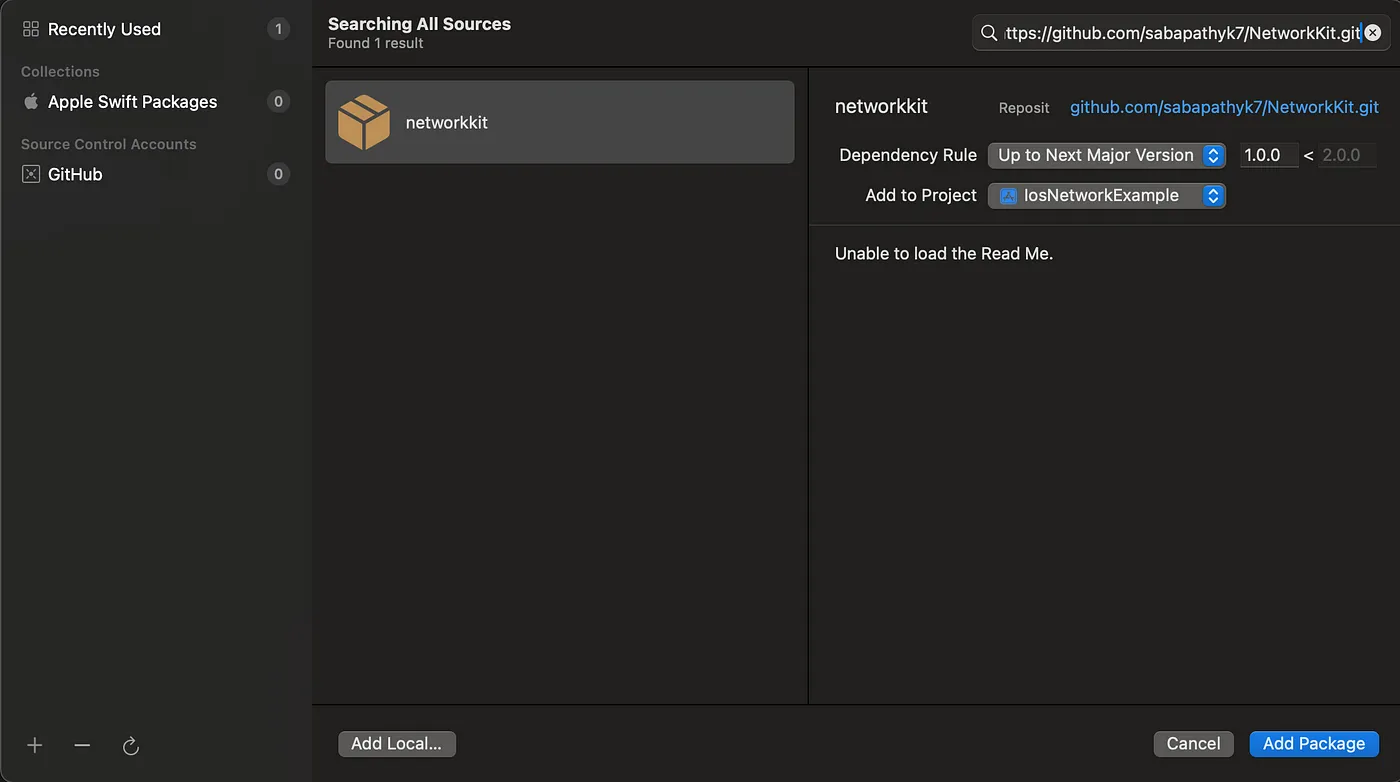
- Navigate to the Project -> Package Dependencies -> Click + icon. Alternatively, you can use File -> Add Package Dependencies…
Please find the GitHub Repo
Please use this — https://github.com/sabapathy7/NetworkKit.git to add the dependency.
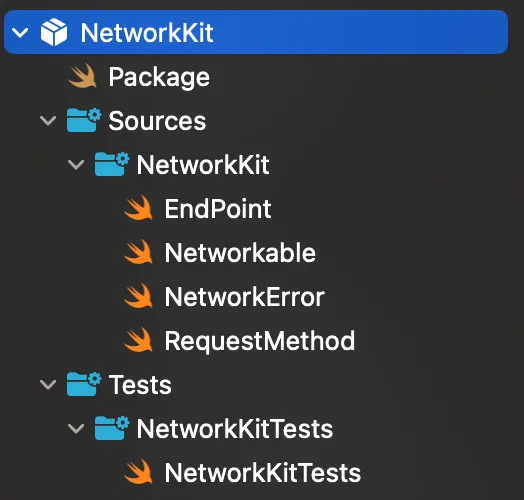
Complete Project Structure

I have published my package on Swift Package Index
The entire project can be found here
References:
Thanks for reading 🚀
If you have questions/suggestion, please add a comment below 👁️🗨️
If you liked this article, please share it with your friends and fellow Developers 🙏


This is a free third party commenting service we are using for you, which needs you to sign in to post a comment, but the good bit is you can stay anonymous while commenting.