UITableView with Collapsible Cells
Many times we see the use-case like tableview cells should expand and collapse when tapped, let us see one easy implementation for the same in this article:

Let us create a TableViewController with a custom cell. The cell can be configured with three views
- Cell View - to display the cell contents in default mode
- Expanded View (Detail View) - to display the cell contents in expanded mode
- A container view (UIStackView) to hold both the Cell and Detail Views
So the CustomCell looks like this:
import UIKit

final class CustomTableViewCell: UITableViewCell {
    override init(style: UITableViewCell.CellStyle, reuseIdentifier: String?) {
        super.init(style: style, reuseIdentifier: reuseIdentifier)
        commonInit()
    }

    required init?(coder: NSCoder) {
        fatalError("init(coder:) has not been implemented")
    }

    private let containerView = UIStackView()
    private let cellView = CustomTableCellView()
    private let detailView = CustomTableDetailView()

    func setUI(with index: Int) {
        cellView.setUI(with: Constants.fruits[index])
        detailView.setUI(with: index, image: UIImage(named: Constants.fruits[index]) ?? UIImage())
    }

    func commonInit() {
        selectionStyle = .none
        detailView.isHidden = true


        containerView.axis = .vertical

        contentView.addSubview(containerView)
        containerView.addArrangedSubview(cellView)
        containerView.addArrangedSubview(detailView)

        containerView.translatesAutoresizingMaskIntoConstraints = false
        cellView.translatesAutoresizingMaskIntoConstraints = false
        detailView.translatesAutoresizingMaskIntoConstraints = false

        containerView.leadingAnchor.constraint(equalTo: self.contentView.leadingAnchor).isActive = true
        containerView.trailingAnchor.constraint(equalTo: self.contentView.trailingAnchor).isActive = true
        containerView.topAnchor.constraint(equalTo: self.contentView.topAnchor).isActive = true
        containerView.bottomAnchor.constraint(equalTo: self.contentView.bottomAnchor).isActive = true
    }
}
Now let us register this cell in our controller and add the required methods:
import UIKit

final class HomeTableViewController: UITableViewController {
    override func viewDidLoad() {
        super.viewDidLoad()
        self.tableView.register(CustomTableViewCell.self,
                                forCellReuseIdentifier: "CustomTableViewCell")
    }

    override func tableView(_ tableView: UITableView, numberOfRowsInSection section: Int) -> Int {
        return Constants.fruits.count
    }

    override func tableView(_ tableView: UITableView, cellForRowAt indexPath: IndexPath) -> UITableViewCell {
        guard let cell = tableView.dequeueReusableCell(
                withIdentifier: "CustomTableViewCell") as? CustomTableViewCell
        else { return UITableViewCell() }
        cell.setUI(with: indexPath.row)
        return cell
    }
}

enum Constants {
    static let fruits = ["apple", "avacoda", "cherry", "coconut", "dragon" ,"grapes",
                         "guava", "kiwi", "melom", "orange", "peach", "salak", "straw"]
}
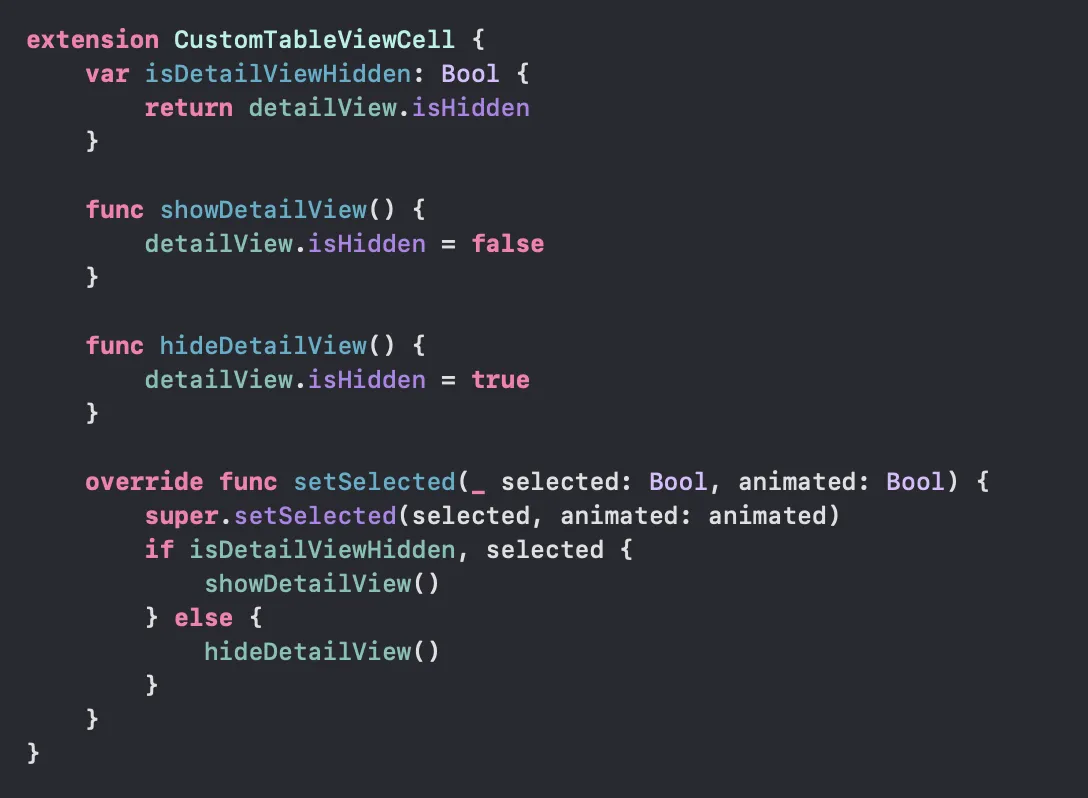
Now our table view and custom cell with both views (Collapsed and Expanded Views) are ready, now we need to add the setup for showing and hiding detail view when a cell is tapped.

we are leveraging the help of tableViewCell’s setSelected method here, so when a cell is selected it will show the detailView and when it is not selected, the same will be hidden.
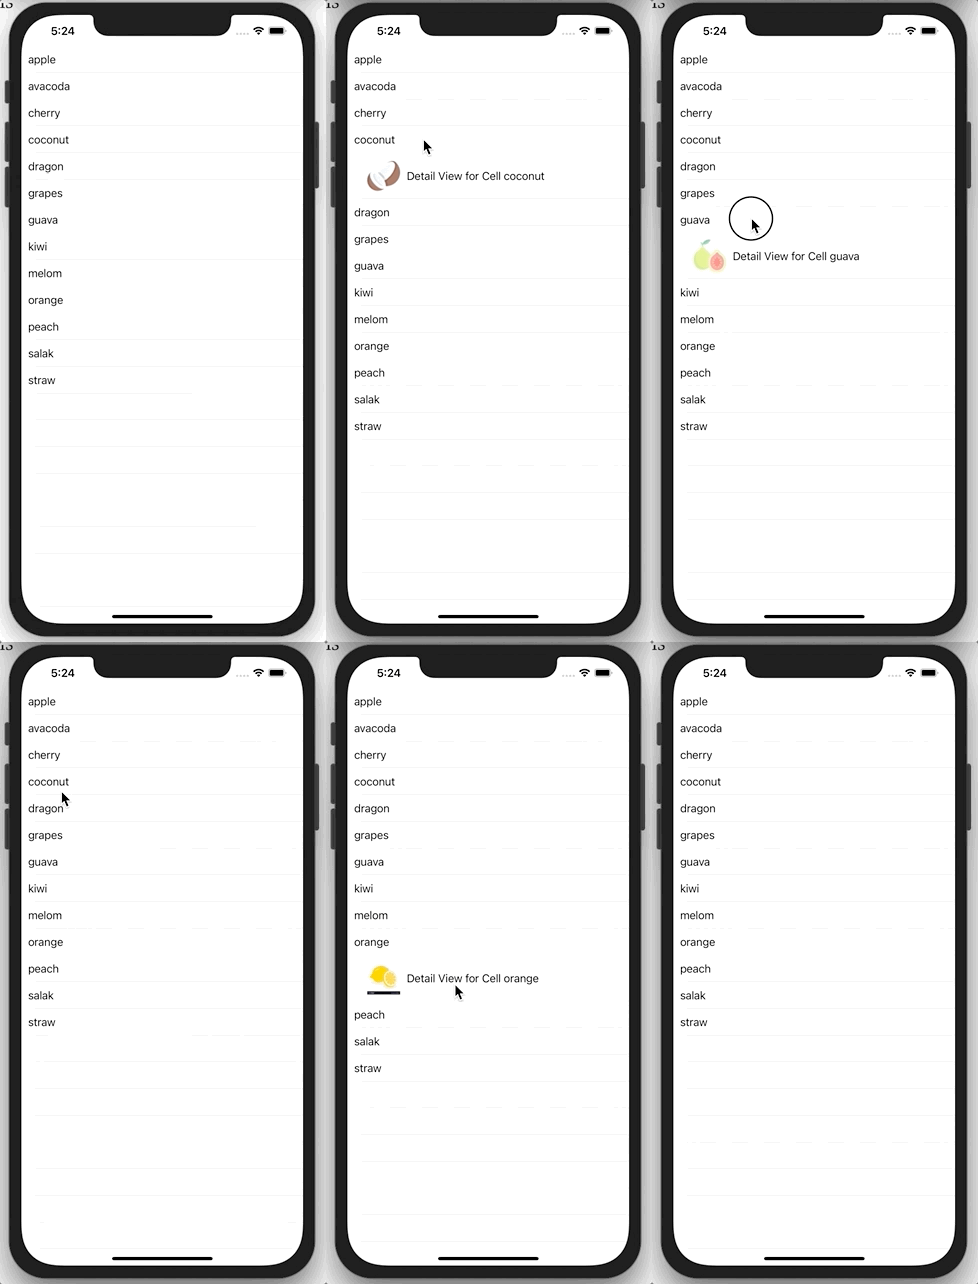
Now if we run the app it looks below:

Now, to get the smooth expanding and collapsing animation, UITableView is helping with a great API called:
performBatchUpdates(_:completion:)
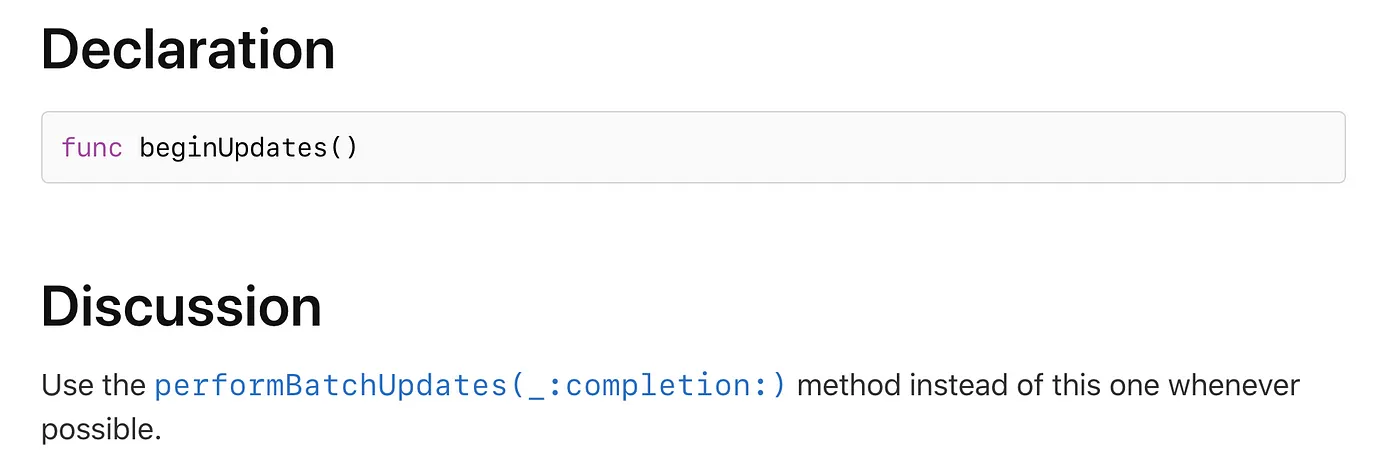
This API is available from iOS 11+. This method animates multiple insert, delete, reload, and move operations as a group. This happens without reload the cell. The same can be achieved using beginUpdates() and endUpdates() but apple suggests that we should use performBatchUpdates instead of them

now we can call this method with an animation block for much smoother effect when a cell is selected, like

and if we need to hide the detailView when another cell is selected, we can achieve that easily with

Now, if we run the app, we can able to expand and collapse a cell, show and hides views easily with smooth animation

The entire project can be found here
This is a free third party commenting service we are using for you, which needs you to sign in to post a comment, but the good bit is you can stay anonymous while commenting.

