Swift Testing Right Swipe Left Swipe
Introduction
Swift Testing has been officially integrated into Xcode 16
Apple released Swift Testing in WWDC 24
You can watch the official sessions here for deeper insights:
Swift Testing - A Modern Testing Framework
Importance of Testing
Writing tests is crucial for ensuring
App Quality
Reliability
Automated testing has been proven to:
Achieve consistent quality
Maintain Software Quality over time.
It is also essential for implementing effective CI/CD pipelines and enabling automated deployments.
XCTest(Traditional)
XCTest is a widely used and mature testing framework.
Supports writing unit tests, integration tests, UI tests, and performance tests.
Swift Testing (New, Swift 6+)
Swift Testing is a new, modern testing framework built for Swift 6+.
Leverages the power of Swift language features to write tests in a more expressive, Swift-native way.
Challenges in Testing
Some of the common testing challenges include:
Readability: Test cases can become hard to understand.
Code Coverage: Ensuring sufficient coverage is often difficult.
Organization: Tests can become disorganized as projects scale.
Fragility: Tests might fail unpredictably due to external dependencies or unstable conditions.
Qualities Desired in Test code
Good test code should be:
Structured: Easy to follow and maintain
Organized: Logically grouped and well-named
Self-Documenting: Clear enough to understand without external documentation
Goal of Unit Testing
The ultimate goal of unit testing is to:
Enable sustainable growth of your software project.
Make it easy to start a project from scratch — but more importantly, help you maintain and scale it over time.
About Swift Testing
Swift Testing is Apple’s latest framework for writing tests in Swift.
Compared to the traditional XCTest framework, it offers:
A modern, expressive, and Swifty approach to writing tests
An independent framework, no longer tightly coupled with Objective-C legacy
Enhanced code quality and developer experience
Interpret test results
Swift Testing clearly visualizes the possible states of test results, helping you understand outcomes at a glance.
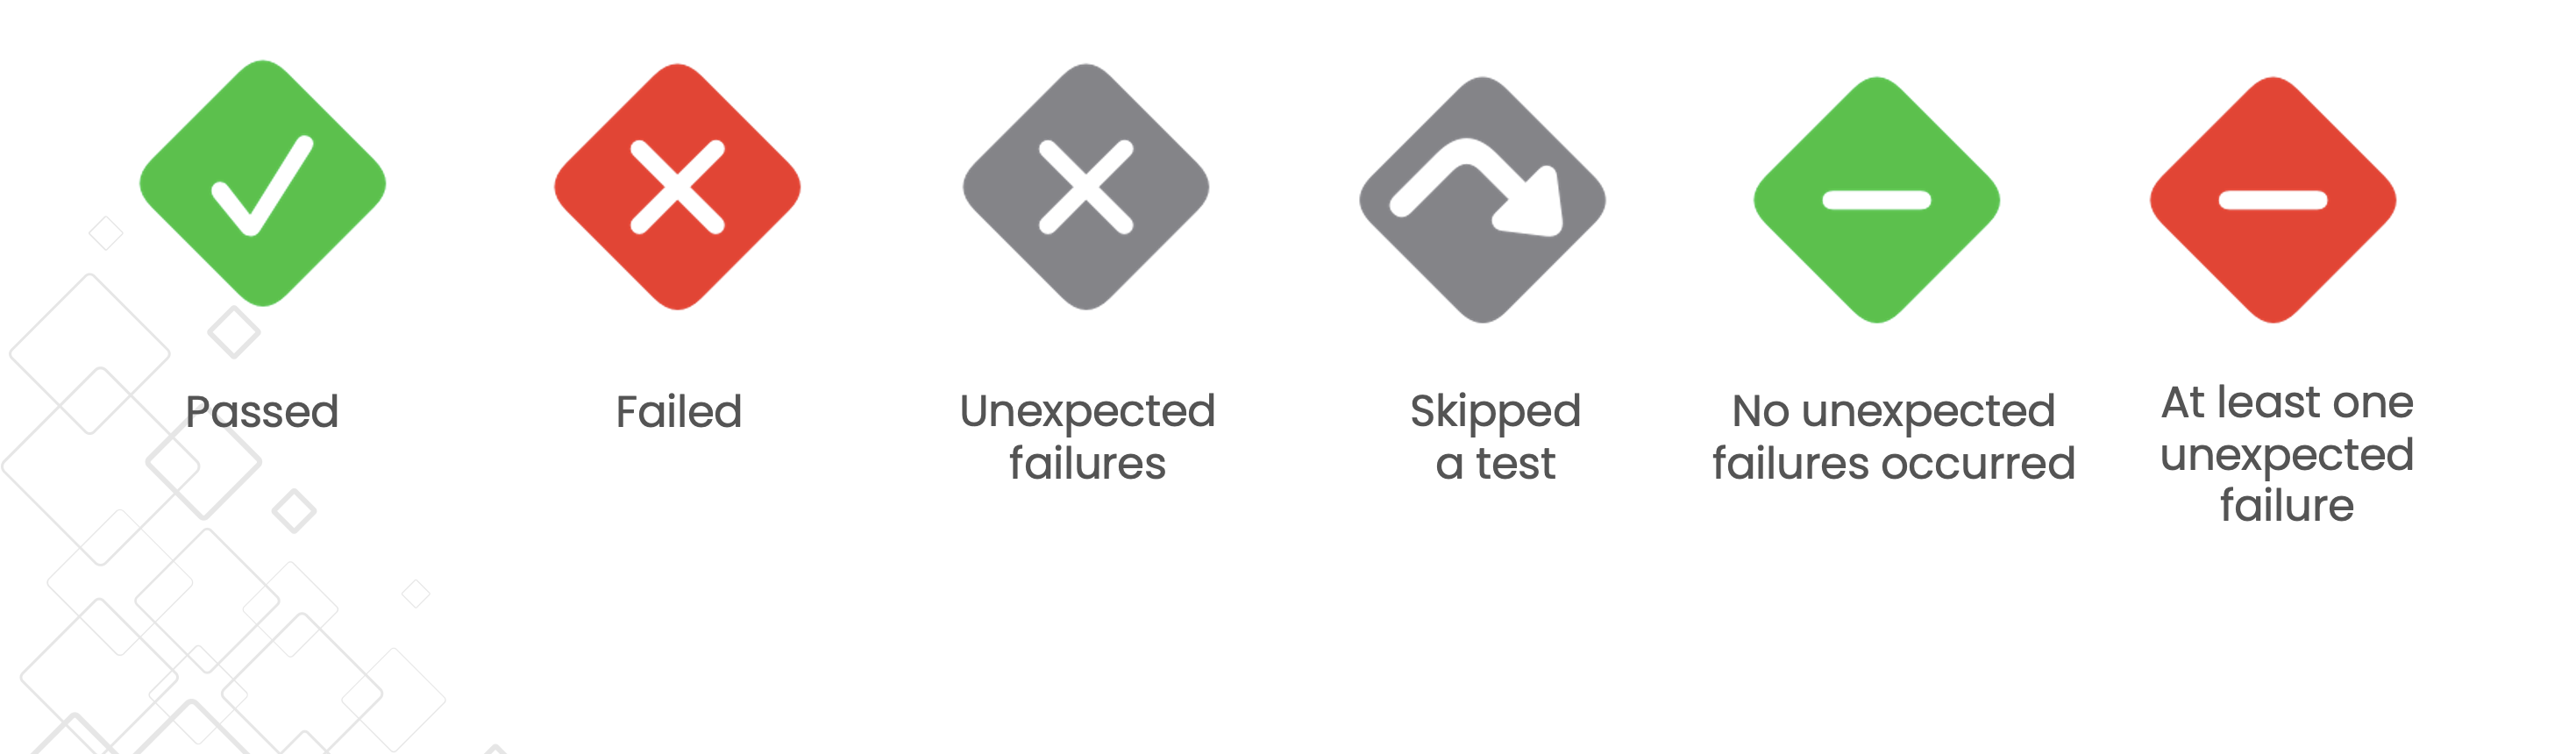
Possible States of Test Results
High Level Comparison
XCTest
Available on: Apple Platforms (iOS, macOS, tvOS, watchOS)
Supports: Unit tests, performance tests and UI Tests
Based On: Objective-C
Swift Testing
Available on: Platforms that support Swift 6.0, Linux, Windows (Open Source)
Supports: Unit and Integration Tests
Based On: Swift-powered, with modern concurrency & Macros
Parallel testing on physical devices
Swift Testing supports parallel execution by default, even on physical devices!
Parallel Testing - Physical Devices
If you’re building a multi-platform app, you can run your entire test suite across all target devices — iPhone, Apple Watch, and even visionOS — in parallel, at the same time.
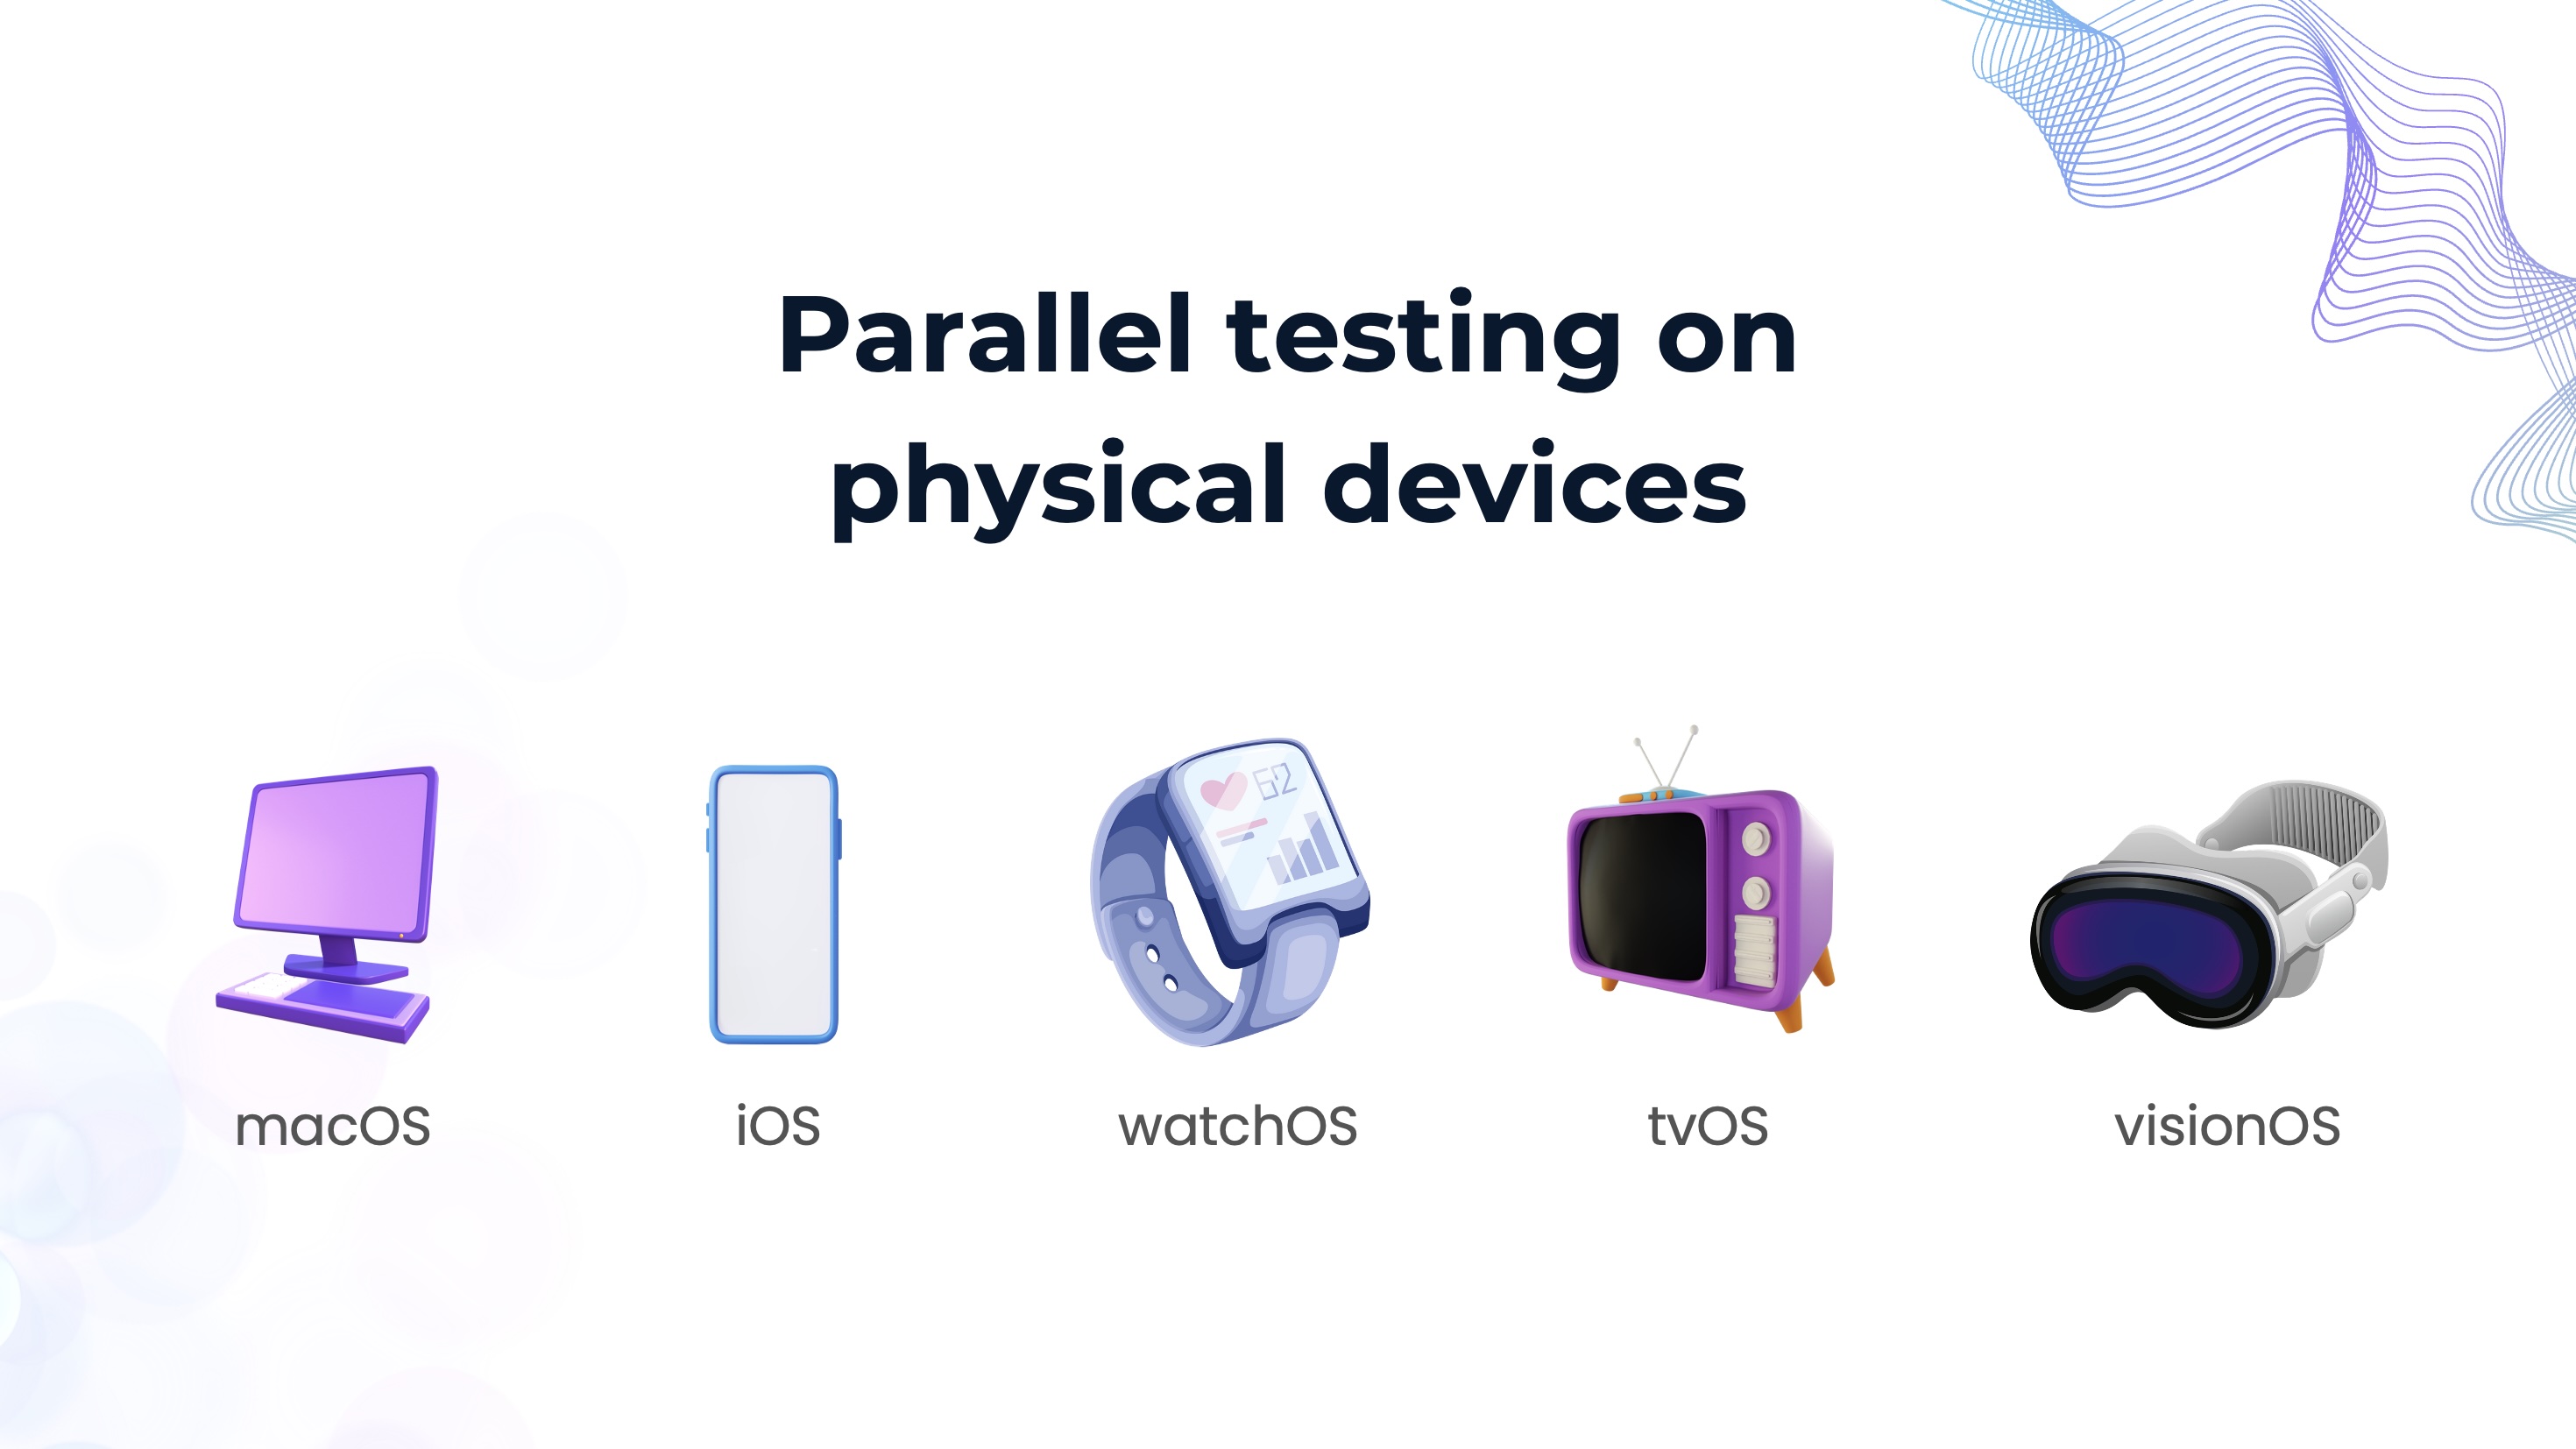
Apple Platform Devices
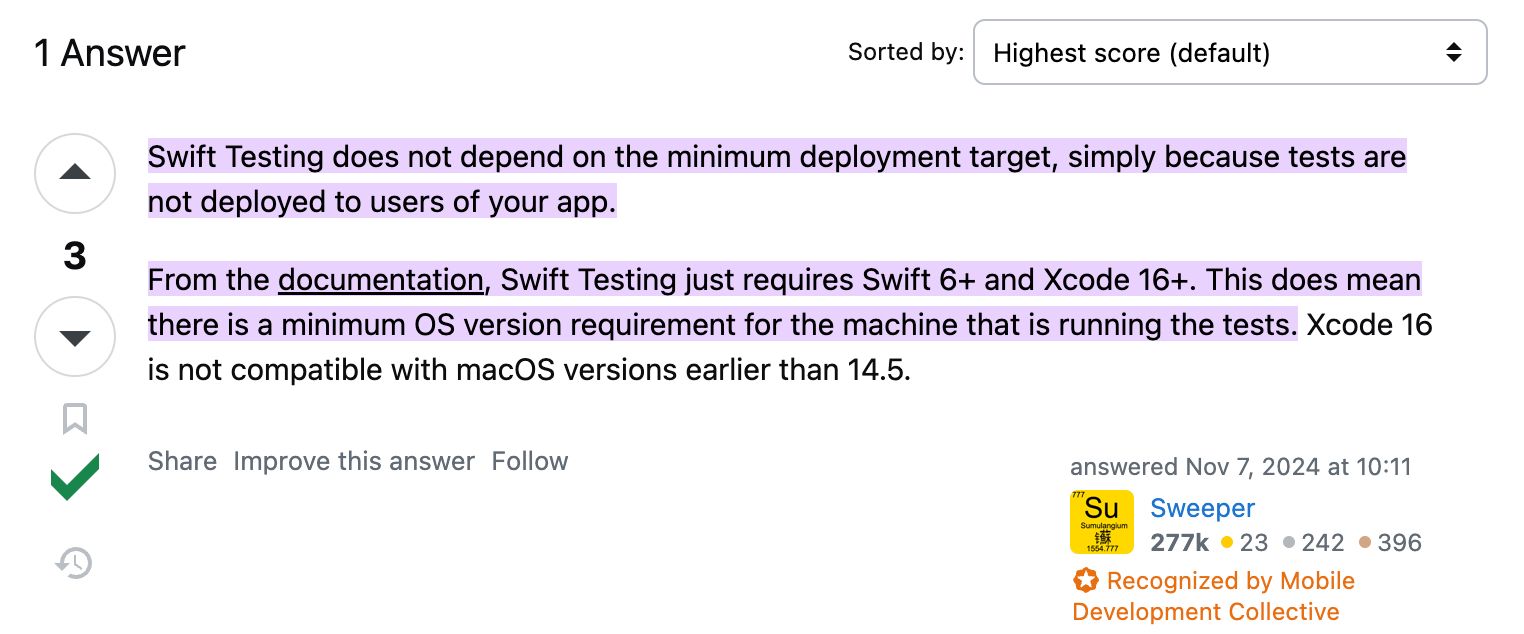
Deployment Target vs. Environment Requirements
Swift Testing does require specific tooling and OS versions for the development environment where the tests are run:
✅ Swift 6+
✅ Xcode 16+
✅ macOS 14.5 or later
So, while your application can still support older OS versions (like iOS 15), you need to run tests on a modern development environment.
Environment Requirements
Reference
StackOverflow: Is Swift Testing available on iOS 15 / Xcode 15?
Building Blocks of Swift Testing
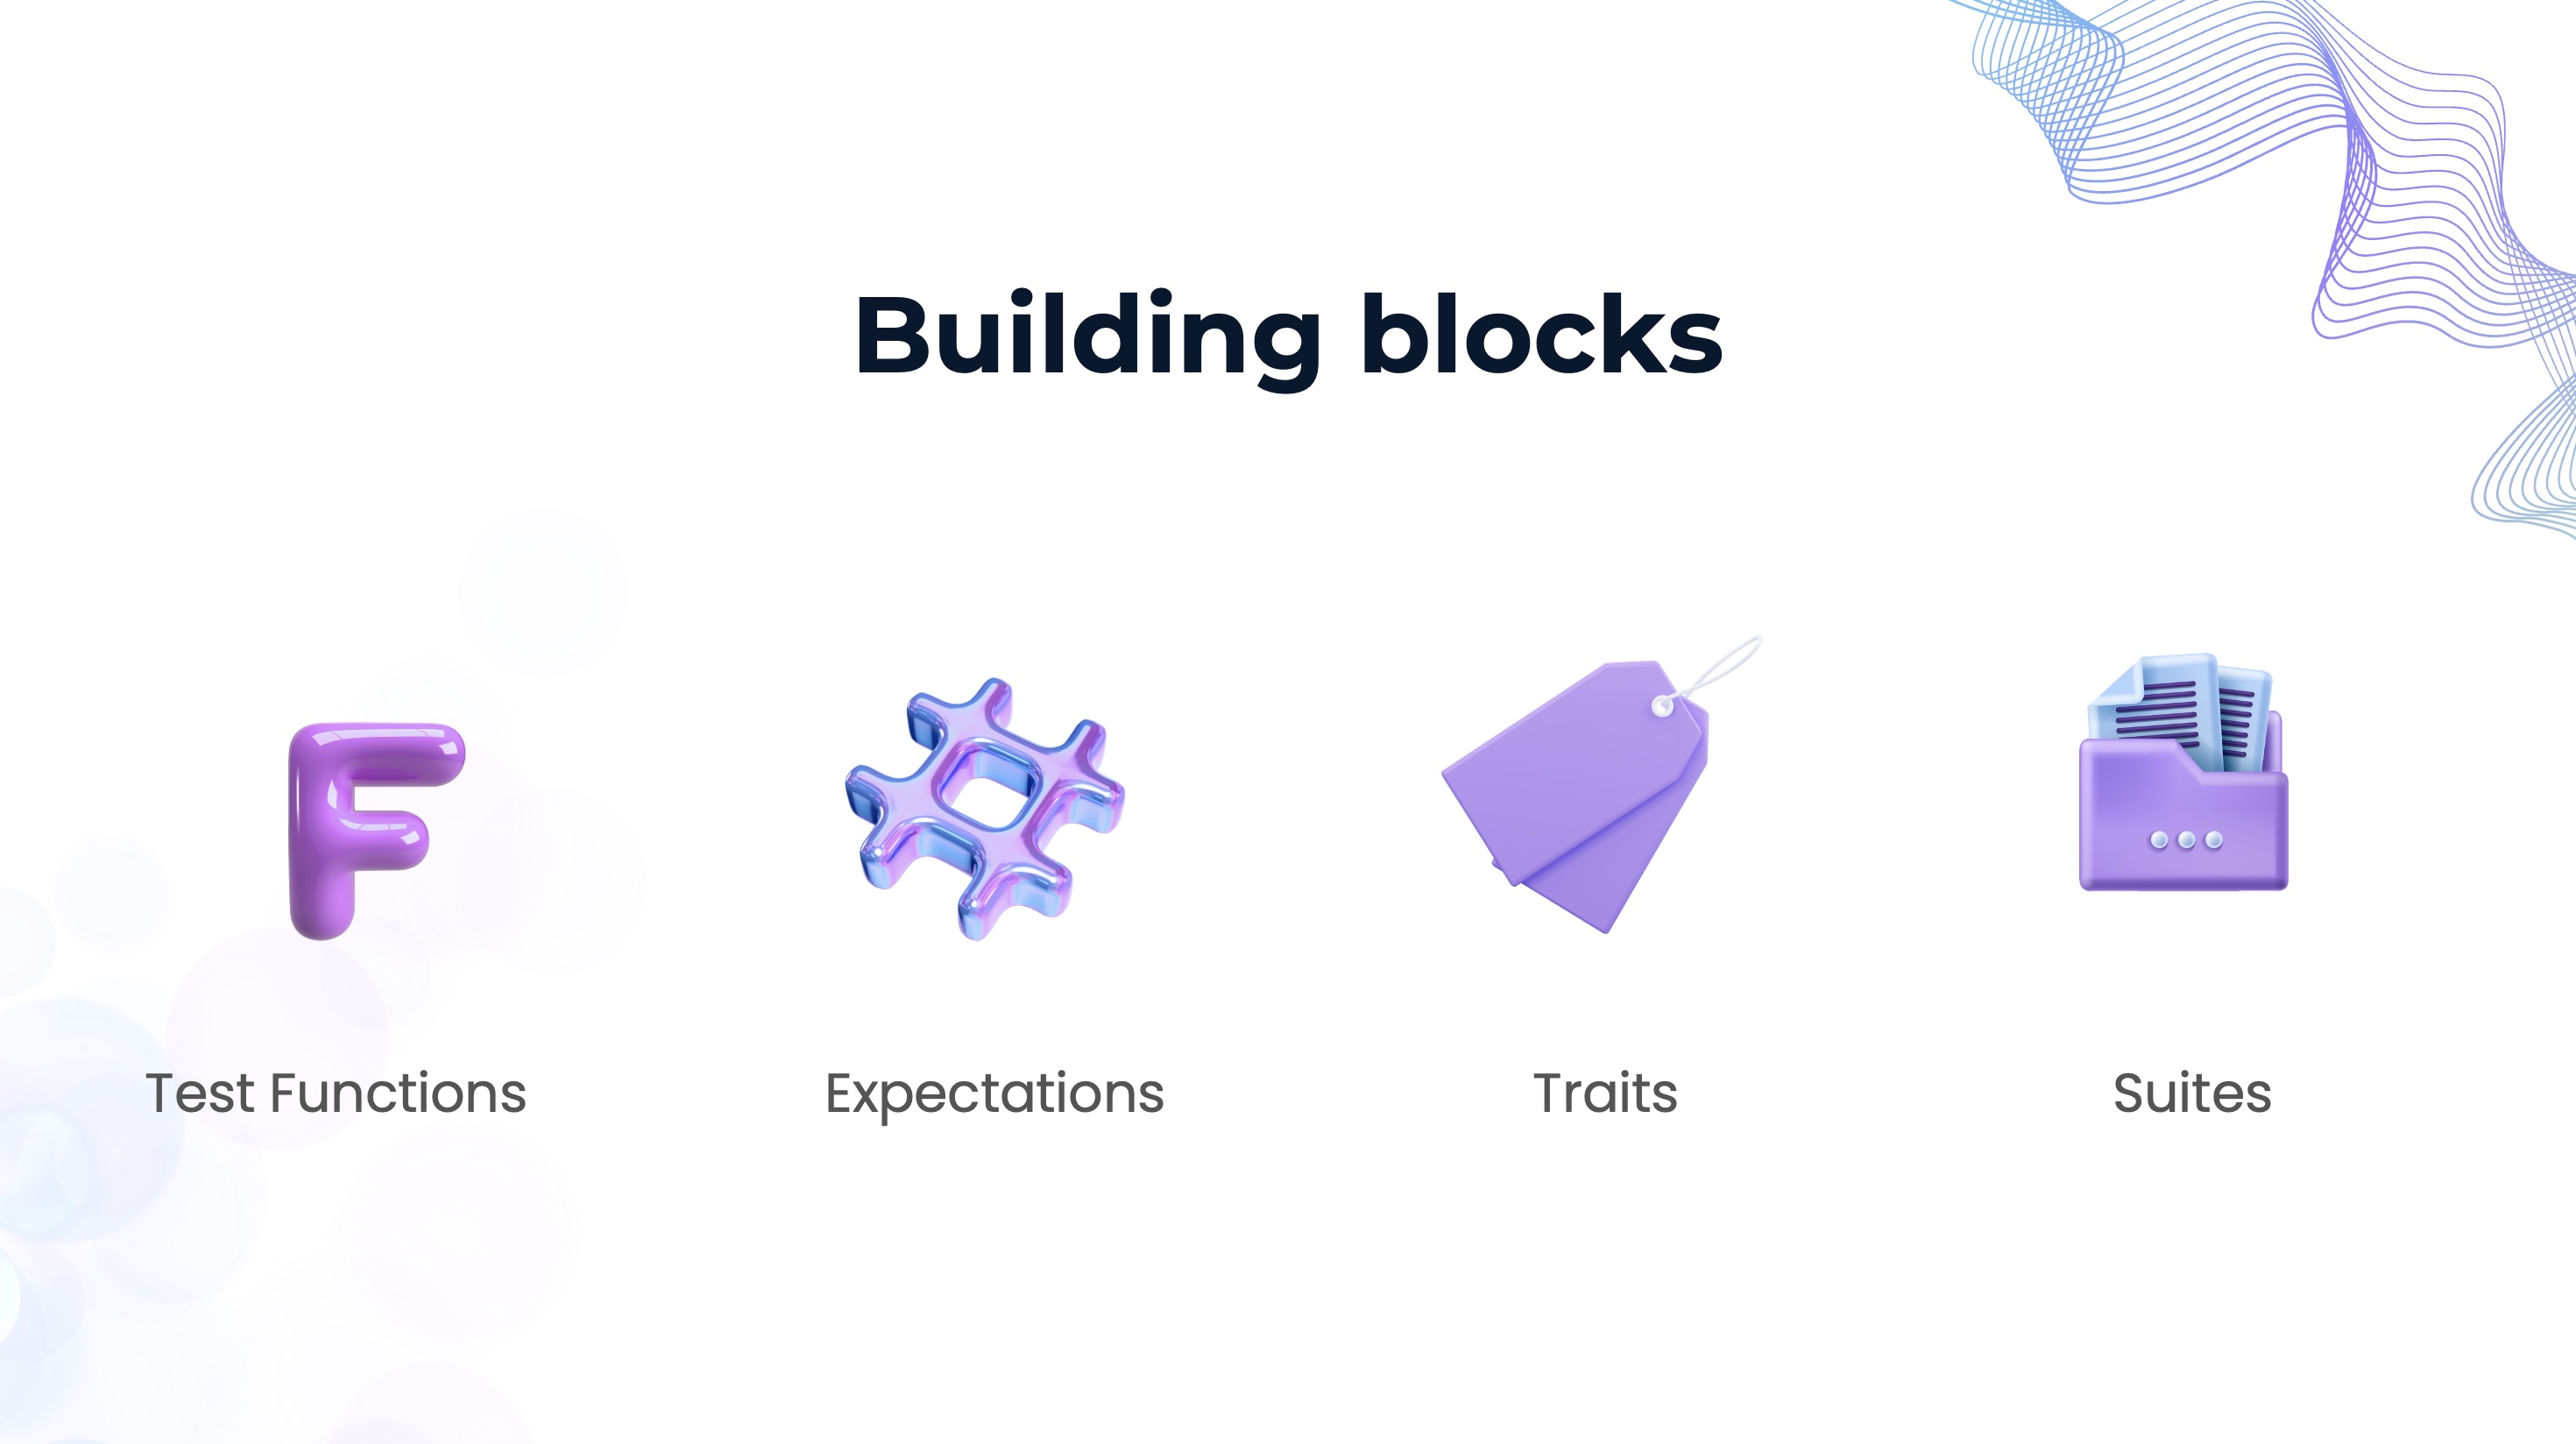
Building Blocks of Swift Testing
@Test
How to create a simple Test
With Swift’s new testing capabilities, you can now write clean, expressive tests without the boilerplate you’re probably used to.
Just Import and Write
To get started, simply import the testing framework in your test target. No extra configurations or base classes needed. Then, define a test function and annotate it with the @Test macro. That’s it — you’re done!
import Testing
@Test
func testAddition() {
    let result = sum(2, 2)
    #expect(result == 4)
}
Simple Test
There’s no need to create a class or inherit from XCTestCase. Once you’ve added the function with the @Test macro, Xcode will automatically recognize it in the Test Navigator, just like you’re used to with XCTest.
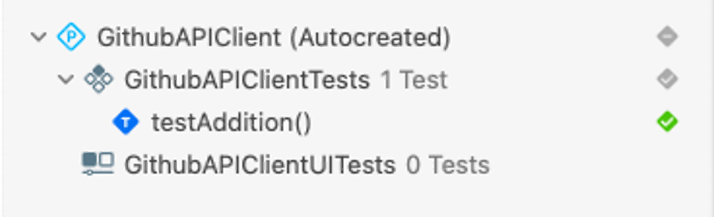
Test Navigator
What is @Test
The @Test attribute is the foundational building block of Swift Testing.
Defines ordinary Swift functions as test cases
Can be written as global functions, instance methods, or static methods
Supports async, throws, and actor annotations
Import test targets using the @testable attribute
💡
Tip: It is recommended to use Structures or Actors for better isolation and value semantics.
Here’s the macro definition for those curious:
@attached(peer)
macro Test(
_ displayName: String? = nil,
_ traits: any TestTrait...
)
attached Macro - @Test
Assertions with #expect
Instead of using multiple assertion methods like XCTAssertEqual, XCTAssertNil, or XCTAssertTrue, Swift’s testing framework provides a unified macro: #expect.
This macro:
Accepts any Boolean condition.
Replaces more than 40 different XCTest assertions with one powerful and flexible tool.
Allows optional custom failure messages, making debugging easier:
Macro definition for reference:
@freestanding(expression)
public macro expect(
_ condition: Bool,
_ comment: @autoclosure () -> Testing.Comment? = nil,
sourceLocation: Testing.SourceLocation = #_sourceLocation
)
freestanding macro - #expect
Grouping Tests Together
You can define multiple test functions within the same file, like so:
struct ArithmeticOperationsTests {
    @Test
    func testAddition() {
        let result = sum(2, 2)
        #expect(result == 4)
    }
    @Test
    func testSubtraction() {}
}
Grouping Tests
✅
Advantage: In case of failure, you get a detailed breakdown of the expression and its values.
Organizing Your Tests with Structs (or Even Actors!)
Swift’s modern testing framework not only simplifies how we write tests, but also how we organize them. No more subclassing XCTestCase, and no more boilerplate. You can now group related tests into any Swift type — even structs or actors.
struct ArithmeticOperationsTests {
    @Test
    func testAddition() {
        let result = sum(2, 2)
        #expect(result == 4)
    }
    @Test
    func testSubtraction() {}
}
Organizing Tests
No inheritance. No XCTestCase. These can be structs, classes, or even actors.
Xcode will recognize this structure and show it grouped under the test name (ArithmeticOperationsTests) in the Test Navigator:

Test Navigator
📦 Can I Write Tests in My App Target?
You might ask:
“Hey, can I just write tests inside my app bundle?”
Nope.❌
Swift’s testing framework must be used in test targets only. Why?
Test code won’t be stripped in release builds.
It could bloat your binary or expose test logic in production.
👉 Always keep tests in a separate test target.
Customise Test names
struct CommentTraitExamples {
    @Test func loginTest() {
        #expect(true)
    }
}
Test Names
Test Navigator:
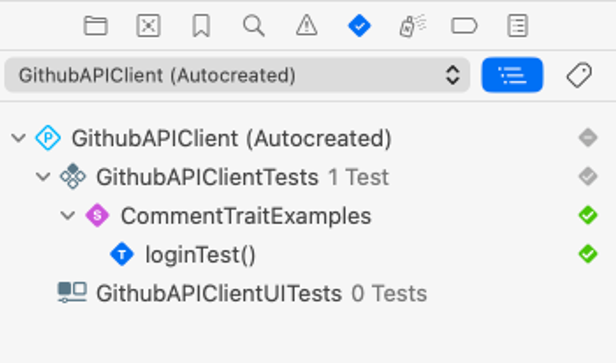
Test Navigator for simple struct
Naming is one of the hardest things in software engineering. Swift Testing gives you a nice way to make your test names more expressive using the display name parameter in the @Test macro.
You can customize test names by passing a string literal:
struct CommentTraitExamples {
    @Test("Verifies that login flow works correctly")
    func loginTest() {
        #expect(true)
    }
}
Customized Test names
This shows up in the Test Navigator like this:
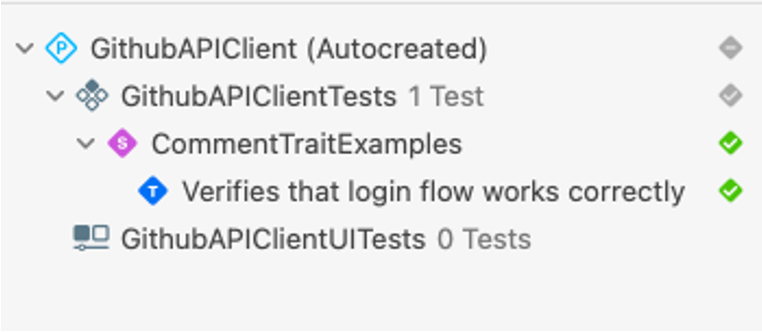
Customized Test name example
SPONSOR

The Unique iOS Swift Conference in the UK
SwiftLeeds is a premier iOS conference taking place on October 7-8 this year. If you’re looking to stay updated on the latest trends in iOS development and connect with like-minded professionals, this event is a must-attend! Don’t miss out—book your tickets now!
Get your tickets!#expect vs #require macro
#require
let user = try #require(repository.getUser(id: 1))Require Macro Example
#require is used when your test must not proceed if a condition isn’t met. It’s Swift’s answer to XCTUnwrap from XCTest, but more expressive and better integrated into the new macro-based syntax.
The #require macro is designed to:
Immediately stop test execution when a condition fails.
Automatically unwrap optionals or throw a failure if the value is nil.
Provide more precise and focused test outcomes.
Declaration:
@freestanding(expression)
public macro require(
  _ condition: Bool,
  _ comment: @autoclosure () -> Testing.Comment? = nil,
  sourceLocation: Testing.SourceLocation = #_sourceLocation
)
Require Macro Documentation
@Test func checkEmailValidation() throws {
    // First we require that the user exists
    let user = try #require(repository.getUser(id: 1))

    // Then we require that validating the email doesn't throw
    let email = try #require(try user.validateEmail())

    // If we get here, we know email validation succeeded
    #expect(email == "test@example.com")
}
#require vs #expect Macros
Why Use #require
It simplifies optional unwrapping and error handling.
It prevents misleading test results caused by subsequent code running after a critical failure.
It keeps your test logic clean and expressive.
✅
Advantage: If any #require fails, the test stops immediately, providing better error isolation.
#expect
Behavior: Logs failure, continues execution
When to Use: Multiple checks in one test
#require
Behavior: Stops test if condition fails
When to Use: Critical preconditions or unwraps
Note
Please find the GitHub Repo
To learn more about the interesting sections in Swift Testing
Migration Guide from XCTest to Swift Testing Framework - Modernizing Your Tests: A Practical Guide to Swift Testing Framework
Traits, Suites, Concurrency in Swift Testing Framework - Traits, Suites & Concurrency: Unlocking Swift Testing’s Full Potential
Thanks for reading 🚀
If you have questions/suggestion, please add a comment below 👁️🗨️
If you liked this article, please share it with your friends and fellow Developers 🙏


This is a free third party commenting service we are using for you, which needs you to sign in to post a comment, but the good bit is you can stay anonymous while commenting.